Advanced Hunting Just Got a Lot More Powerful. You Can Now Act on What You Find.
All right class
Hunting was always "find bad things and tell someone".
You'd write your KQL, find the compromised devices, copy a list of hostnames into a Teams message, ping the incident response team, wait for someone to actually act on it. Three people, two tools, ten minutes minimum. By the time an isolation happened, the attacker had already moved.
That workflow is gone now.
The Thing That Actually Changed
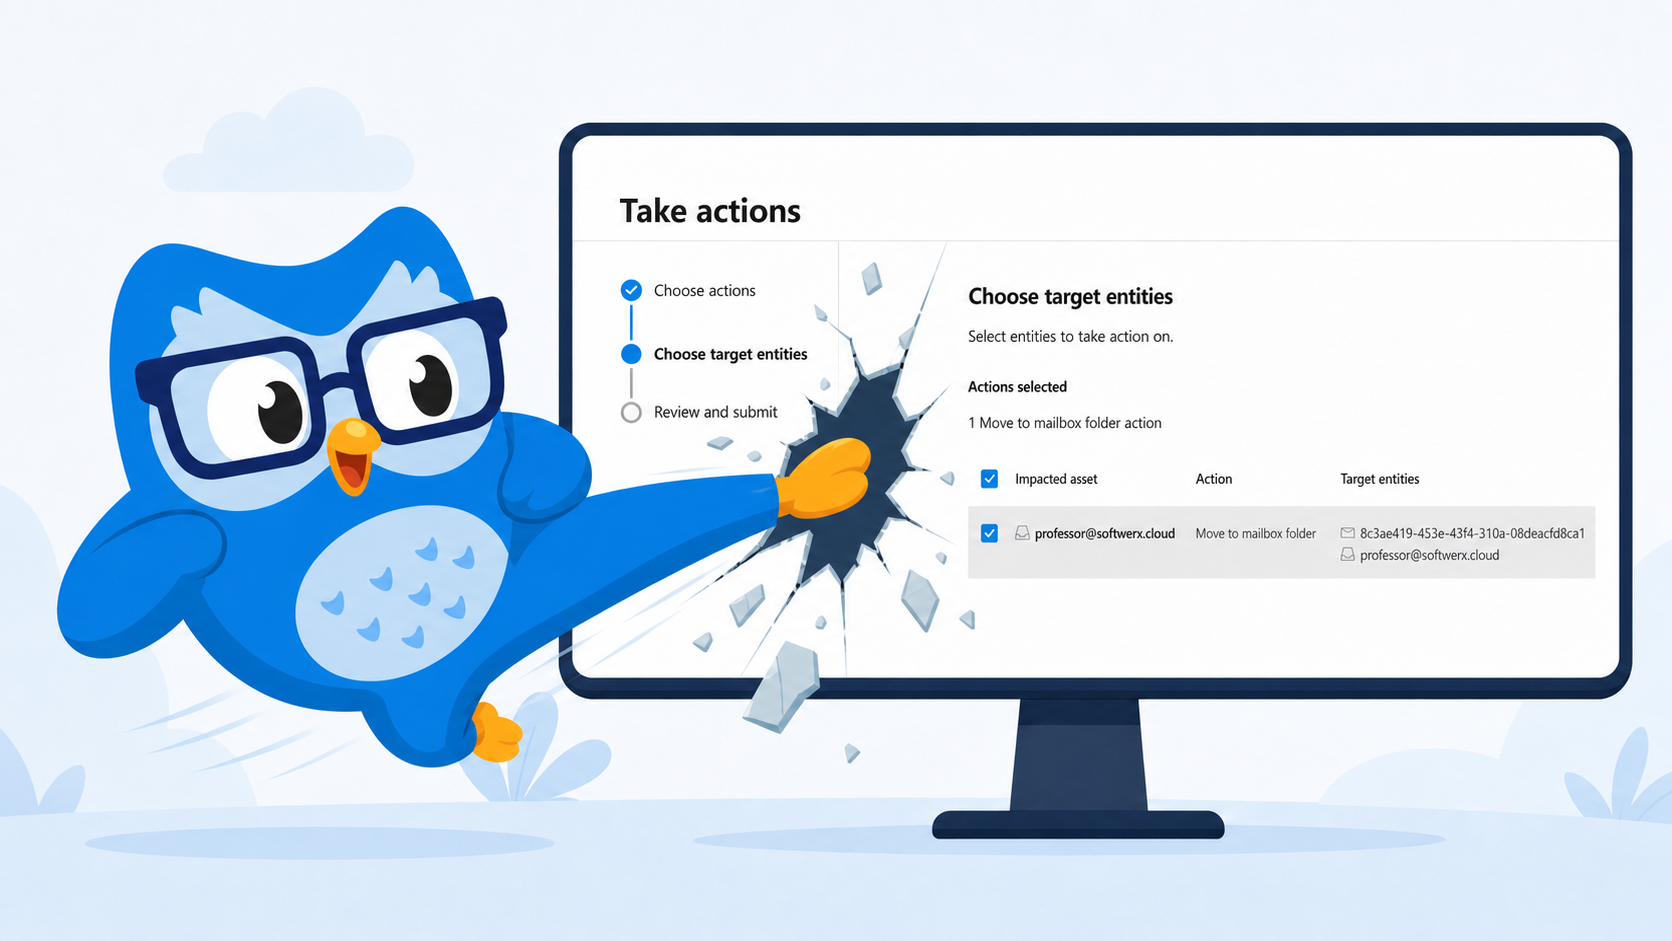
From inside Advanced Hunting in the Defender portal, you can now take action directly on your query results.

Run a query. Select the rows you care about. Hit Take actions. A wizard walks you through choosing what to do, confirming the targets, and submitting. The action goes to the Action Center, gets tracked, and you move on.
No pivot to a different blade. No copying device names into another tab. No waiting for someone else to actually push the button. You found it, you act on it, from the same screen.
That sounds small. It is not small.
Permissions First, Because This Will Catch You Out
Make sure you have the right permissions first;
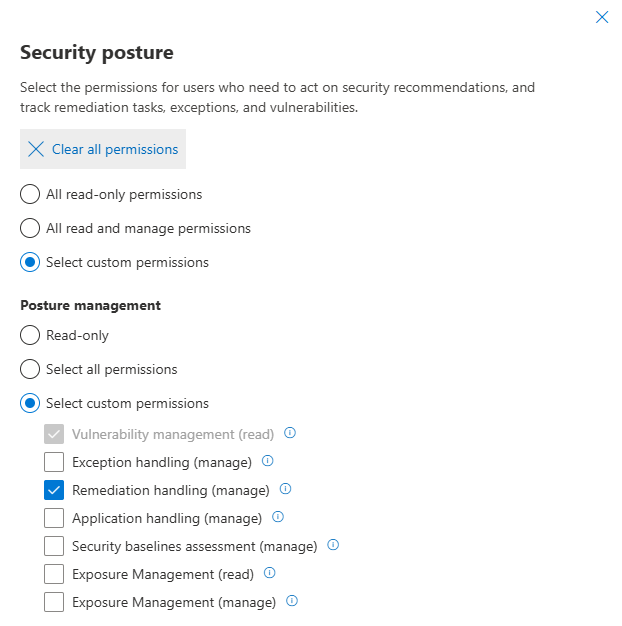
For device actions, you need a role with Active remediation actions > Threat and vulnerability management - Remediation handling permissions.
For email actions, you need search and purge rights in Defender for Office 365.
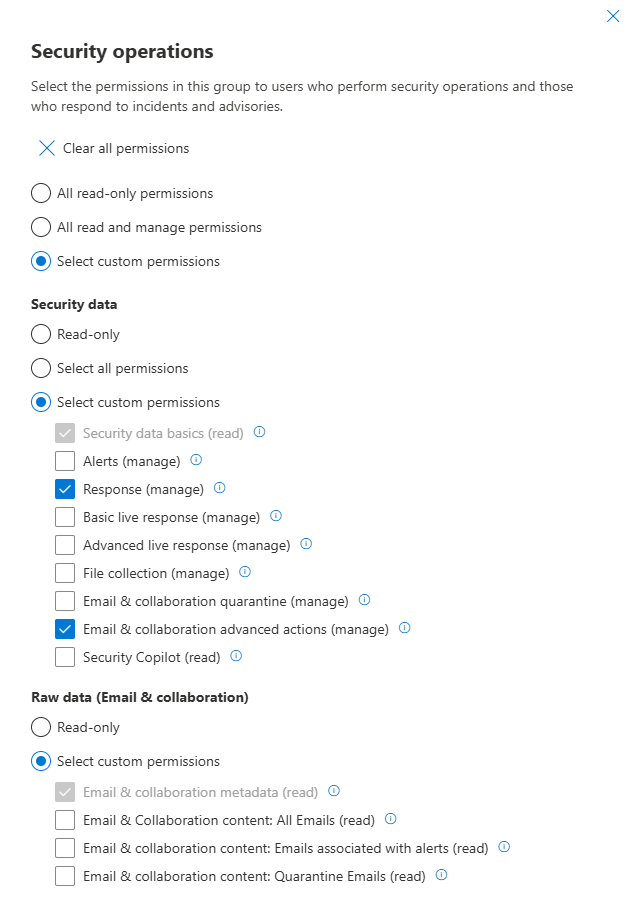
In Unified RBAC, the combination you need is Security operations > Security data > Security data basic (read) > Response (manage) plus Email and collaboration advanced actions (manage).
If your analysts are getting the Take actions button but cannot actually submit anything, check their RBAC assignment before you waste an hour debugging.
Device Actions: Contain First, Ask Questions Later
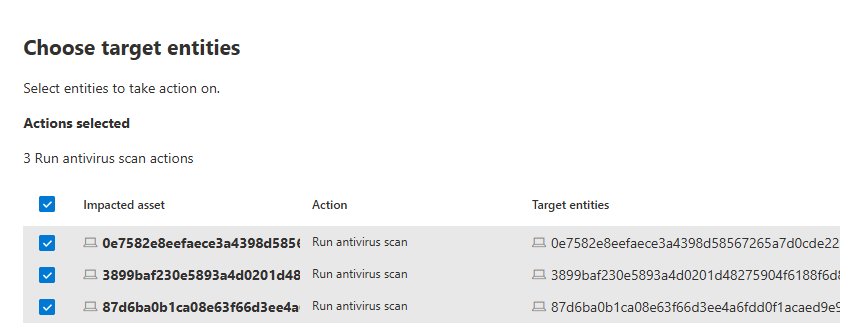
The classic scenario. You are hunting for lateral movement and you find three devices with the same suspicious process execution pattern. Before Take actions existed, you would go to Device inventory, search each one, isolate them individually, generate separate investigation packages. Slightly painful on one device. Annoying at ten.
That's gone with Take Actions.
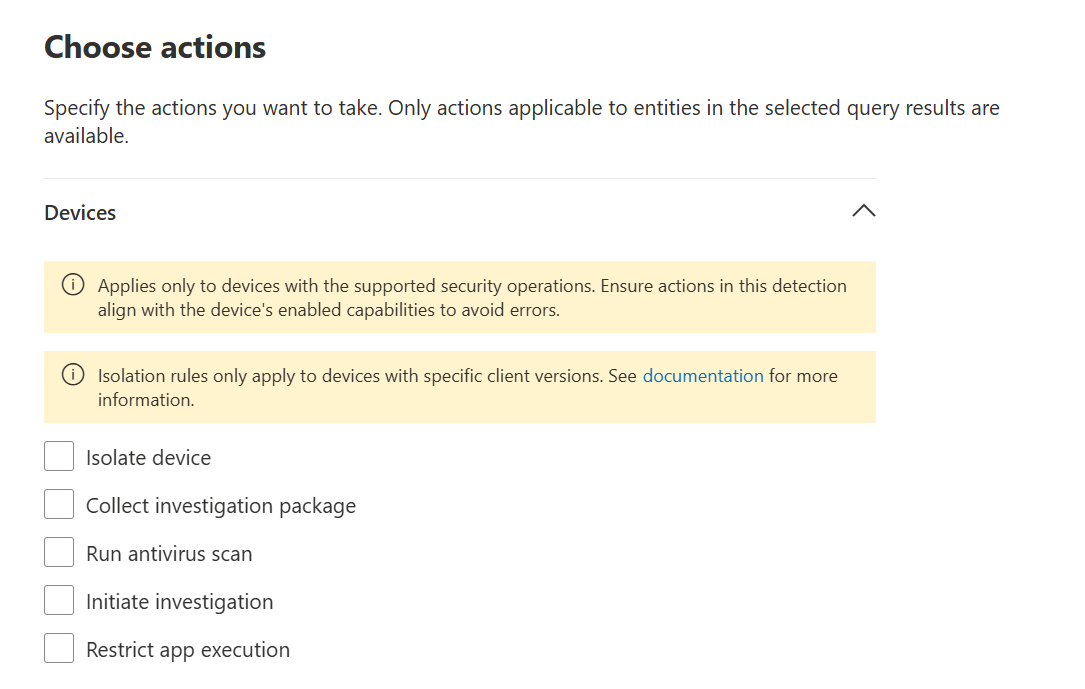
What you can do on devices:
- Isolate device cuts the device from the network while keeping the Defender sensor alive. The machine is still talking to the portal, you can still collect forensic data, but it cannot spread. You have an option between full vs selective (I am not going to deep dive into selective now, but you can configure that in Isolation Exclusion Rules, in case, for example, you want to allow stuff like Outlook to work in isolation)

- Collect investigation package grabs autoruns, running processes, network connections, recent files, and event logs in a single bundle delivered to the portal.
- Run antivirus scan pushes an immediate scan using the latest definitions.
- Initiate investigation kicks off Defender's AIR engine to investigate and potentially auto-remediate.
- Restrict app execution locks the device to only Microsoft-signed executables. Useful when you know something is running but you have not identified exactly what yet.
- Quarantine file is able to grab SHA1 or initiating process SHA1 and put that in quarantine
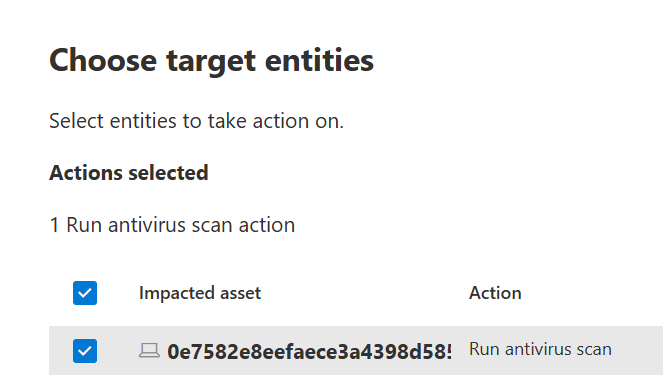
For this to work your query must return the DeviceId column. Without it, the device action options will be greyed out.

Email Actions: Bulk Remediation Without Leaving the Hunt
This is where it genuinely becomes a game changer for email investigation.
You find a spam or phishing campaign. Maybe it got through before the filters caught it. Maybe a new sending domain appeared and your rules did not have it yet. Whatever the reason, twenty inboxes now have it.
EmailEvents is your starting point. The table holds NetworkMessageId, RecipientEmailAddress, SenderFromAddress, EmailDirection, and SenderMailFromDomain among others.
EmailEvents
| where TimeGenerated > ago(24h)
| where SenderFromDomain == "suspiciousdomain.com"
| where DeliveryAction == "Delivered"
| project
    NetworkMessageId,
    RecipientEmailAddress,
    SenderFromAddress,
    EmailDirection,
    SenderFromDomain,
    Subject,
    DeliveryAction
Select all the results. Take actions. Under Emails you get four options:
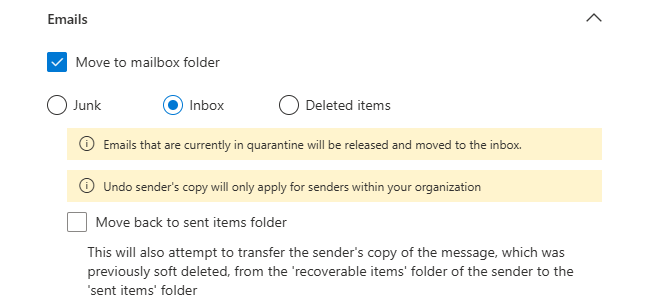
- Move to mailbox folder puts the emails into Junk, Inbox, or Deleted Items. Useful when you have a false positive sitting in quarantine and need to release it back to Inbox without touching each mailbox manually.
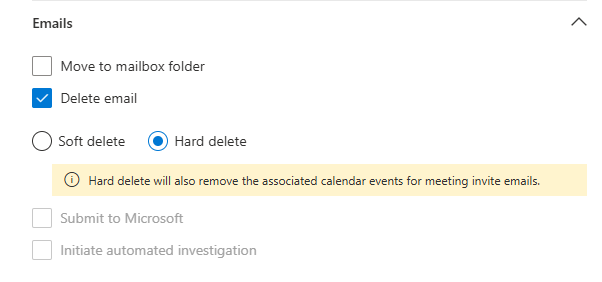
- Delete email with either Soft delete or Hard delete. Soft delete moves to Deleted Items and the user can still recover it. Hard delete is permanent and also removes it from the Sent Items of the original sender if they are internal. For confirmed malicious mail, Hard delete is the right call.
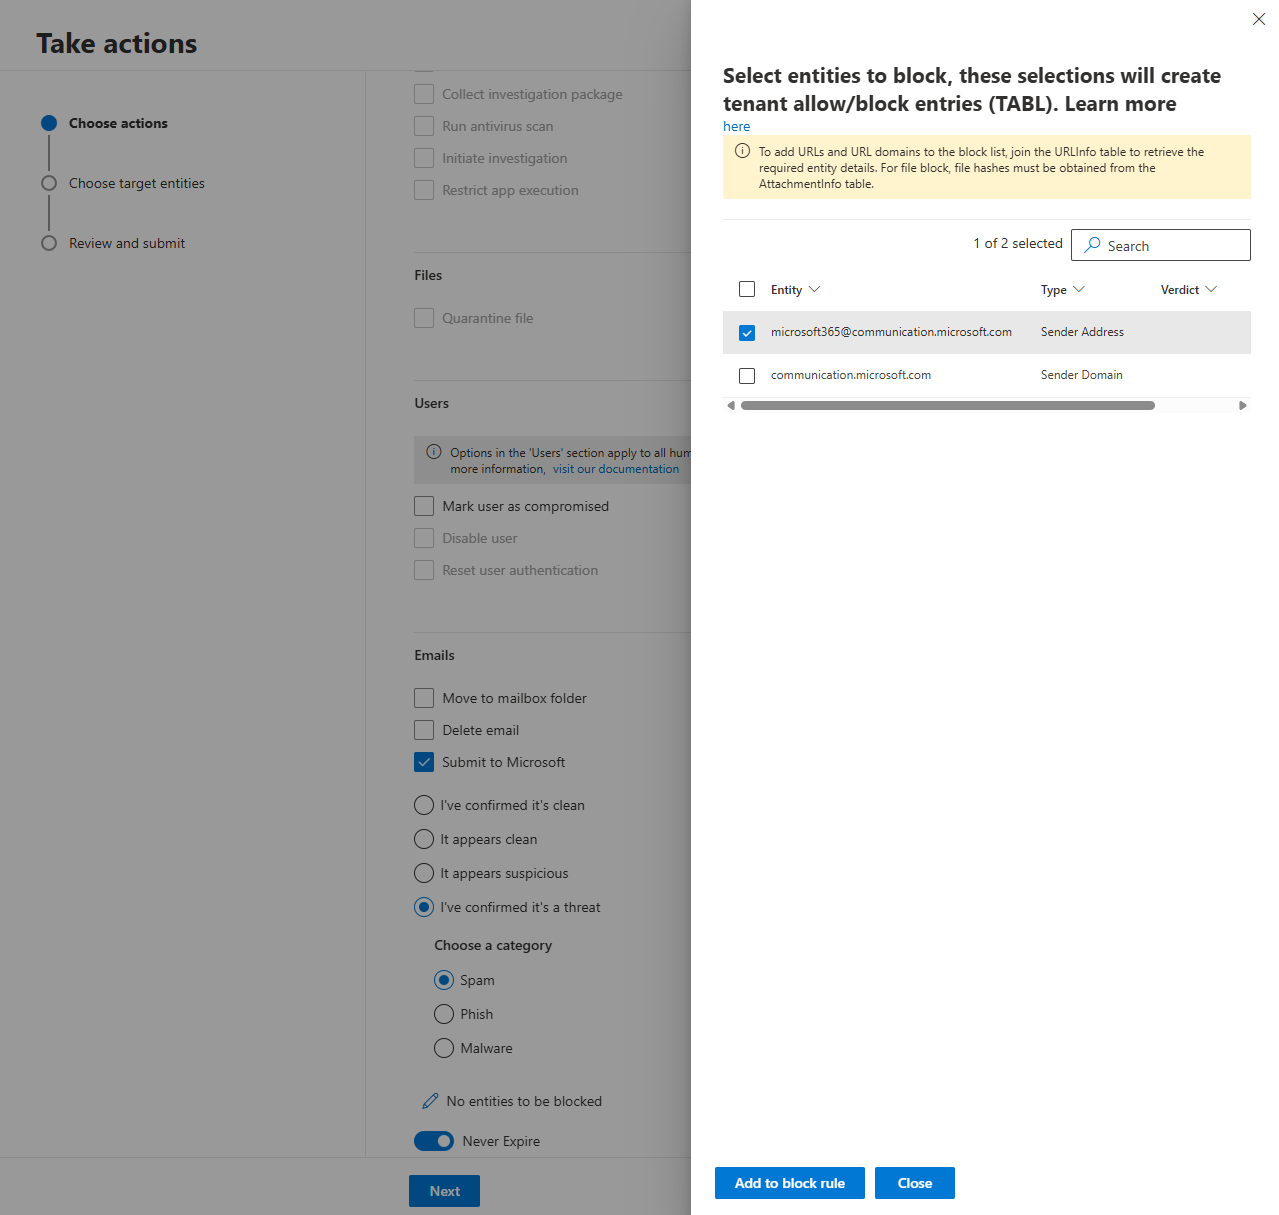
- Submit to Microsoft lets you report it as a false positive or false negative and optionally add the sender domain, URLs, or file attachments directly to your Tenant Allow/Block List. That block happens immediately while Microsoft reviews the submission in the background.
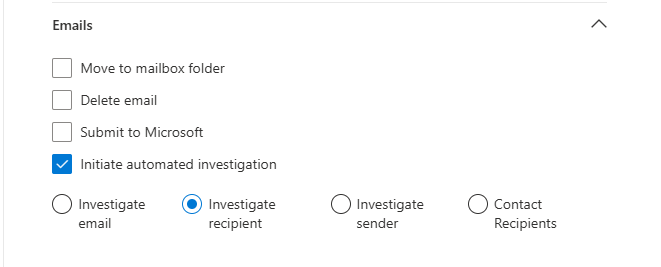
- Initiate automated investigation triggers AIR on the email chain, sender, and recipients.
This also works for hunting across EmailPostDeliveryEvents if you want to catch emails that were delivered clean and then retroactively identified as malicious after initial delivery.
User Actions: From Sign-in Anomaly to Disabled Account in Seconds
Your SigninLogs hunt finds accounts behaving in a way that flags a potential compromise. New country, unusual application, odd time. You need to act before the attacker does anything else.
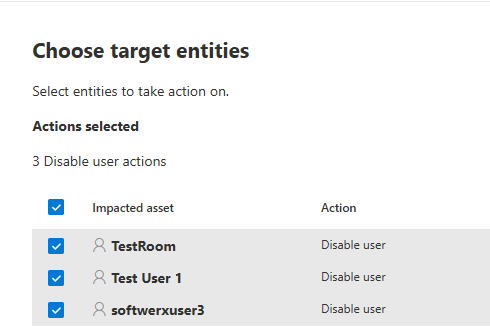
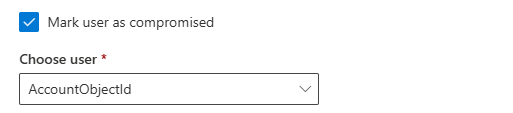
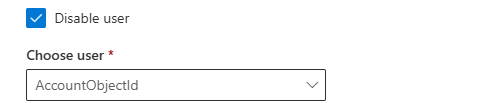
Select the suspicious accounts. Take actions. Under Users you get:
- Mark user as compromised flags the identity in Entra ID and raises the user risk level, which triggers your Conditional Access risk policies automatically.
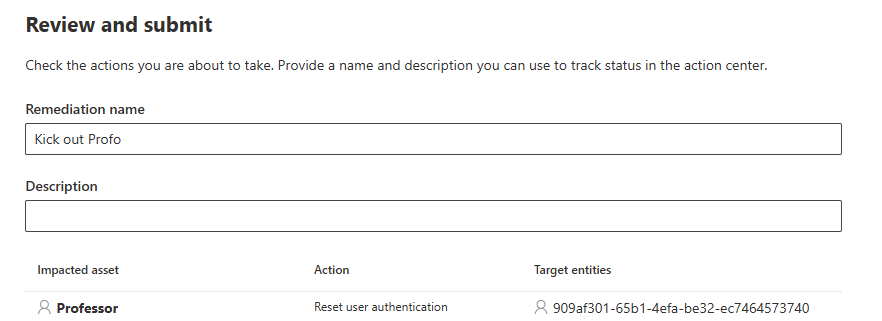
- Disable user kills the account entirely. Sign-ins stop. Tokens are still valid until they expire, so combine this with Reset user authentication.
- Reset user authentication revokes all active tokens and sessions. Combined with Disable user, this is the full stop. The attacker loses their session immediately.

The note in the docs says the Users options apply to both on-premises and cloud identities. In hybrid environments where accounts sync from AD, disabling via this path does the cloud side. Your on-premises AD is a separate action.
File Quarantine: Catch a Hash Everywhere It Lives
You find a suspicious file during a hunt. It has appeared on multiple devices. You have the SHA1 or SHA256. Quarantine it everywhere at once.

DeviceFileEvents
| where TimeGenerated > ago(7d)
| where SHA1 == "paste_your_hash_here"
| where ActionType == "FileCreated"
| project
    TimeGenerated,
    DeviceId,
    DeviceName,
    FileName,
    FolderPath,
    SHA1,
    SHA256,
    InitiatingProcessFileName
| order by TimeGenerated asc
Select all results, take actions, choose Quarantine file, and tell it which hash column to use. SHA1 or InitiatingProcessSHA1, depending on whether you want the file itself or the process that created it.
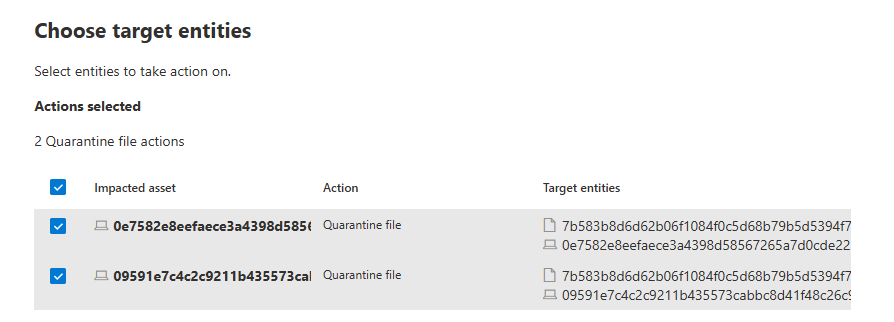
Your query must include DeviceId in the results for file quarantine to work. The quarantine happens on each device listed and the Action Center logs a separate entry per device.

Action Center: Because None of This Matters if You Cannot Audit It
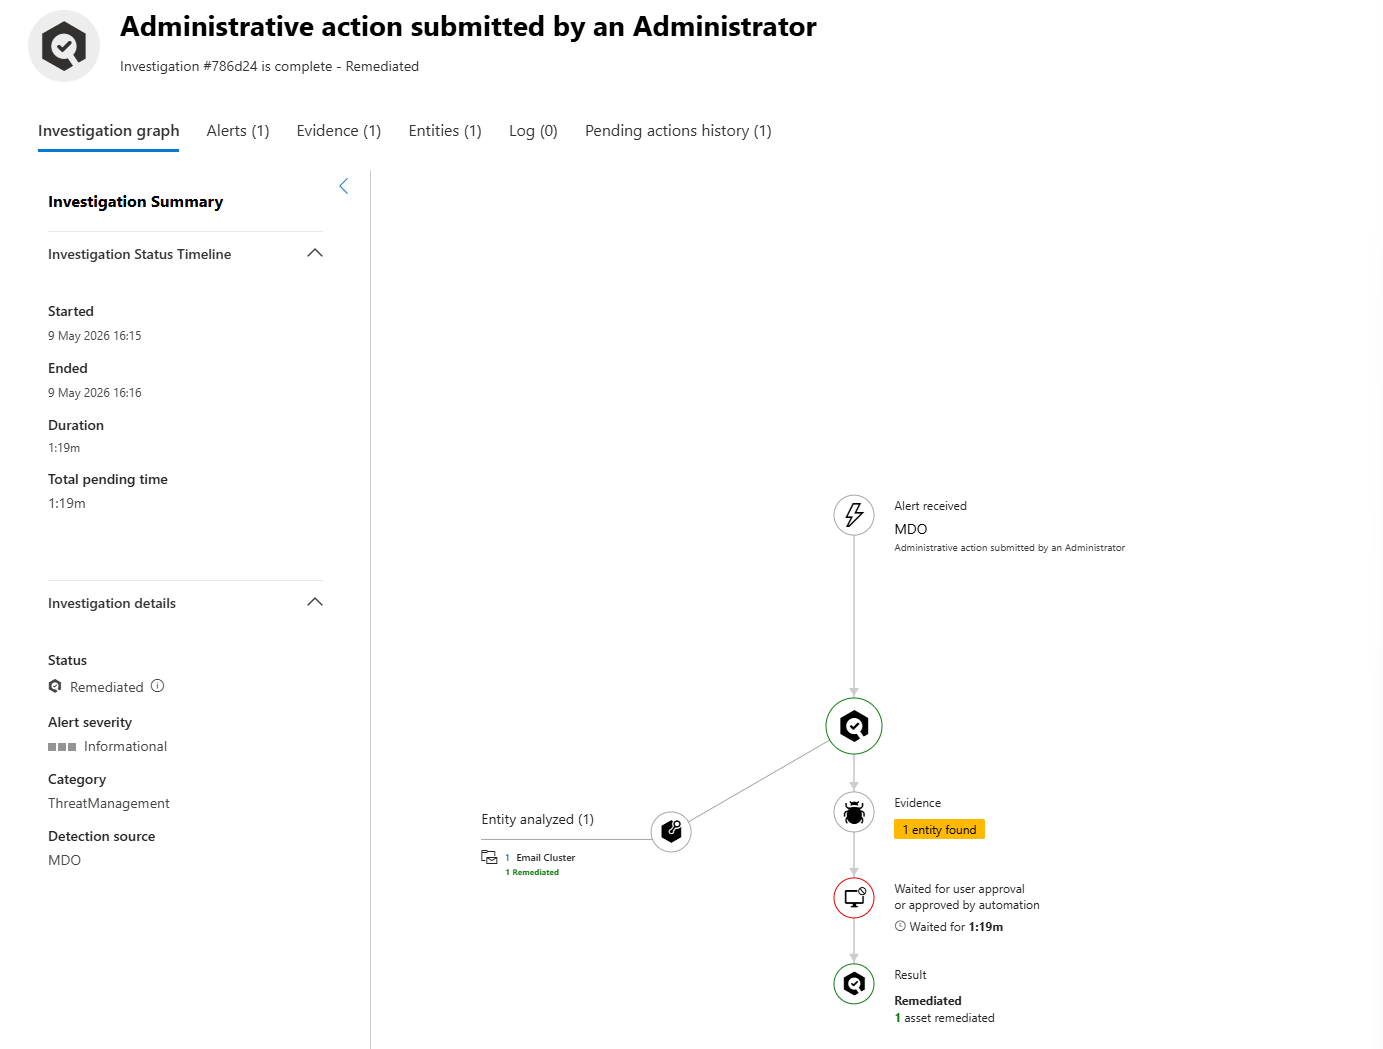
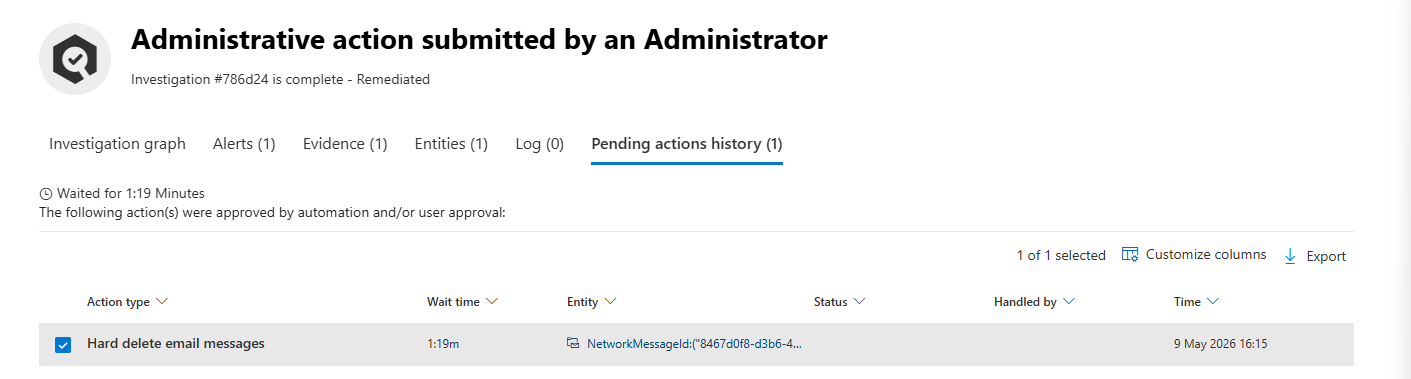
Everything submitted through Take actions lands in Action Center > History at security.microsoft.com/action-center/history.
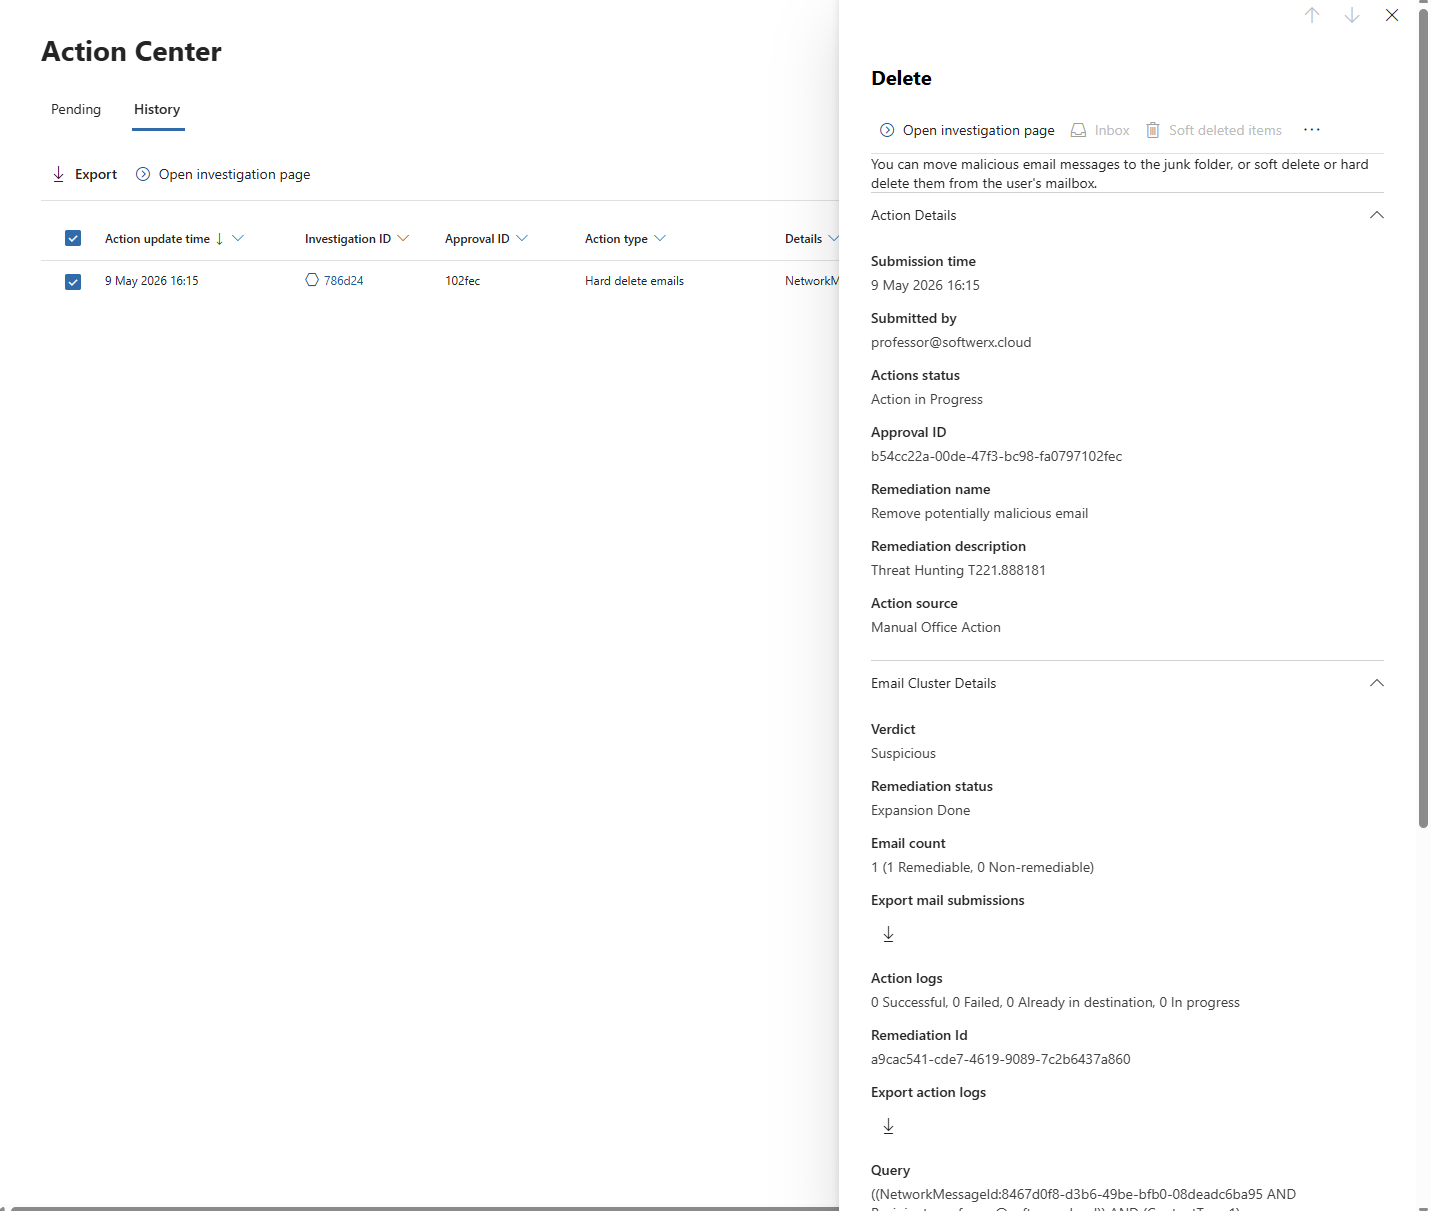
Every action gets logged individually. You can filter by the Approval ID that the wizard gives you at the end of the submission. That ID is how you track everything that came from a single hunting session.
When you submit actions you also get to add a remediation name and a short description. Use these. "Isolate devices from campaign X" is infinitely more useful than a blank entry when a manager asks what happened at 2am on Tuesday.
Where to Start This Week
The first time you use this, do not do it on a production incident. Test it.
Step 1: Verify your URBAC permissions are correct for both device and email actions before you need them under pressure. A greyed-out button during an active incident is not when you want to discover your role assignment is wrong.
Step 2: Run a simple EmailEvents query against known spam in your tenant. Pick a safe test email. Use Take actions to soft delete it and check the result in the mailbox.
Step 3: Find a test device in your lab environment. Run a DeviceProcessEvents query that includes DeviceId in the results. Try collecting an investigation package and check that it arrives in the portal.
Step 4: Check Action Center History after each test. Confirm the log entry is there, the description is readable, and you can filter by Approval ID. When someone asks what you did during an incident, this is your evidence trail.
Class dismissed.